A How-To Guide for Using Mass Texting Service Signal
Signal is one of the best mass texting services for your ministry. It’s free for up to 500 subscribers and for you to send up to 1,000 text messages a month. If you follow the tips on improving student communication using mass texting services  you’ll stay well within those limits (unless your campus ministry is huge).
To get started with Signal, you have to create an account. Here’s how. *Important note for Smartphone users
How To Create An Account In Signal.
If you don’t like screencasts, here’s the written out instructions on how to create an account in Signal.
1. Visit signalhq.com in any web browser.
2. Click on the big orange button that says “view plans and pricingâ€
3. Click on the link that says “free plan†– it’s underneath the table in tiny blue print. Signal is free for up to 500 subscribers.
4. Fill out the form with the required information.
5. Click the green button that says “create my accountâ€
6. Check your email for one titled, “Activate your Signal account,†open it.
7. Click on the really long link.
8. Fill out the form with the required information on the page it takes you to.
9. Click on the green button that says “Save and Get Started!†You’ve made an account. Good work!
How To Create A List And Keyword In Signal.
Right after you sign up, you’ll want to set up your first ‘keyword,’ which is the word people text to Signal to sign up for your texting group. Here’s how.
If you don’t like screencasts, here’s the written out instructions on how to create a list and keyword in Signal.Â
1. Name your list – this is for your reference only, it won’t be seen publicly. Possible examples include: Cru Large Group, Small Group Leaders, The Whole Leadership Team, etc.
2. Click on the box next to “via text message†to let Signal know how you’ll be communicating with your list.
3. Write your keyword in the form – keep it to one word, short, to the point. Examples include: ASUCRU, NAUIV, UCRNAVS
4. Write a number in the form and choose a frequency (weekly, monthly, etc) that tells how many and how often you’ll be sending texts to your list. A rough estimate is fine.
5. Click the green button that says “Create†and you’re done. Good work!
How To Send A Text Message In Signal.
Sending your first text message comes after students have texted the keyword to the shortcode number.
At your leadership team meetings, big group gatherings, and other applicable meetings, have your students text the keyword to the short code number – that’s how they become subscribers.
Once you get subscribers, it’s time to send your first text message. Here’s how.
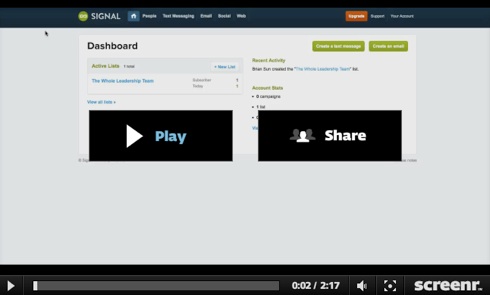
If you don’t like screencasts, here’s the written out instructions on how to send a text message in Signal.
1. Click on the button that says “Create a text message†— it’s in the top right hand corner of your dashboard.
2. Name your message in the text box that says “Name this message†— people you text will not see the name of your message, it’s for your reference only.
3. Type your text message in the text box with the heading “Messageâ€
4. Include “Msg&data rates may apply. Text STOP YOURKEYWORD 2quit†at the end of every text message you send out. It’s a legal thing.
5. Schedule when your campaign is sent out. Scroll down to the bottom of the page and look for the heading titled “Schedule Delivery.†The default setting is “now†— IF YOU WANT TO SEND IT NOW, do not change the setting. IF YOU WANT TO SEND THE TEXT MESSAGE IN THE FUTURE, click on the little circle directly to the left of the phrase “In the futureâ€
How to schedule your message for the future: After you click on the little circle directly to the left of the phrase “In the future†then click on the little calendar directly to the right of the text box where you see the date and time of when the message is currently sent to be scheduled. The calendar will open. Choose the date and time you want the message to be scheduled. That’s it.
6. Click on the button that says “Save and Previewâ€
7. Re-read your message (on the right is the draft of what your message will look like on a phone). Double check the date and time it’s scheduled to be sent out. If it’s the message you want to send at the date and time you want to send it, click the button that says “Approve.†If it’s not the message you want to send, or it’s scheduled for the wrong date and time, click the back button, make the essential changes, and go back to step six.
8. Celebrate! You’ve clicked the “Approve†button and your message is scheduled to be sent to your students.
After signing up for Signal, you’re on your way to improving your communication with students on while they’re on the go. Happy texting.
Special note for smartphone users:
As of the writing of this article, if you visit Signal from your smartphone, you won’t see a link to login. Thankfully, you can get around that easily with a bit of trickery: Just visit http://app.signalhq.com/ (and bookmark it) on your phone, and you should be able to log in and use the service without any trouble.


 Follow
5 Comments